Start Here: Build Your First Woodworking Kit Without Wasting Money
The short answer: a beginner woodworker needs a tape measure, speed square, circular saw, cordless drill, random orbital sander, bar clamps, a pocket hole jig, and basic safety gear — roughly $300–$600 for quality versions of everything. Skip the table saw, miter saw, router, and band saw until specific projects demand them.
The worst thing I ever did for my woodworking was buy the 300-piece tool set in the plastic carrying case. It was $89 at a home center, included everything from tiny hex keys to a plastic-handled saw, and came in a bright red case that looked professional in a photograph.
Six months later: the cheap saw had stripped teeth, three of the screwdrivers had deformed tips, and the tape measure was off by 1/8” at the 8-foot mark. The worst part was that I didn’t know the tape was inaccurate until I’d built a cabinet that didn’t fit the space it was supposed to fill.
The 300-piece set problem is that it optimizes for appearing complete rather than being useful. Good woodworking doesn’t need 300 items. It needs about 12 things that work reliably.
Here’s the list — plus four common purchases that beginners make too early.
How to Use This List (The Buy-As-You-Go Philosophy)
Don’t buy everything at once unless you have a specific project requiring every item here. Projects are the best teachers of what you actually need. A person building their first workbench needs different tools than someone making furniture from rough lumber.
The approach that works: buy the foundation tools (measuring, cutting, fastening) first. Then as projects demand specific tools, add them. You’ll find that about 80% of woodworking projects use the same core set, and the specialty tools come into play rarely enough that buying them before you need them means they’ll sit unused.
Budget tiers I use throughout this guide:
- $300 starter: Functional but no-frills — Ryobi and similar budget brands where acceptable
- $600 capable: Step-up quality where it matters most
- $1,200 serious: Premium choices that’ll last decades
Measure & Mark — The Difference Between Projects That Fit and Ones That Don’t
This category is where beginners most commonly under-invest. A cheap tape measure with sloppy markings makes every subsequent step harder. Measure once, cut once is meaningless advice if the measurement is wrong to start.
1. Tape Measure — Stanley FatMax 25-Foot
The FatMax has a wide, rigid blade that stands out 11 feet unsupported — crucial for measuring long boards solo. The markings are large and clear. The hook moves the right amount for inside vs. outside measurements. It’s the most popular tape measure on job sites for a reason.
Skip the 16-foot version. The extra length of a 25-foot tape costs nothing in terms of usability and matters on larger projects.
2. Speed Square — Swanson 7-Inch
A speed square does two things: marks 90° and 45° angles quickly, and acts as a fence for your circular saw to guide a straight cut. Both functions are used constantly. The 7-inch Swanson is the standard — the markings are clearly laid out and the aluminum casting is accurate.
The cheap knockoffs are fine here. A speed square’s job is simple and the tolerances are achievable at any price point. The Swanson is worth buying for the clear degree markings, but don’t spend more than $15.
3. Marking Gauge (Add When You Start Joinery)
A marking gauge scribes a consistent line parallel to an edge — essential for laying out mortises, tenons, and dovetails. You don’t need this for basic projects (a pencil and tape measure handle most beginner work), but once you start joinery it becomes indispensable.
The two worth knowing: a classic single-pin marking gauge for straight lines, and a mortise gauge (with two pins) for laying out mortise widths directly. Neither is expensive — budget $15–$30 for a decent one.
Cut — Where Beginners Overspend
This is the category where I see the most expensive mistakes. Beginners read about miter saws and table saws and assume those are the entry point. They’re not.
4. Circular Saw — DeWalt DCS565B 20V
A circular saw handles the rip cuts and crosscuts that beginners need most. It’s portable, works in any shop space (including a garage without permanent benches), and handles sheet goods, dimensional lumber, and framing material.
At the $300 tier, the Ryobi 18V circular saw is fine. At the $600 tier, the DeWalt DCS565B is the step up worth making — brushless motor, excellent cut quality, and it integrates with the DeWalt 20V ecosystem you’re likely already in from the drill.
5. Jigsaw (Add It Early)
A jigsaw cuts curves and profiles that a circular saw can’t touch. It’s the tool for cutting countertop openings, curved furniture parts, and any irregular shape. A decent jigsaw runs $60–$100. At $600 budget, fit one in — you’ll reach for it more than you expect.
What to skip right now: A table saw. Useful eventually, but it requires dedicated shop space, a proper outfeed area, and setup time that doesn’t suit beginner projects. A circular saw with a cutting guide does 90% of what a beginner needs from a table saw, safely and without the permanence.
A miter saw is similarly skippable early. A circular saw and a speed square square your crosscuts fine.
Drill & Drive — The Platform Decision
6. Cordless Drill
This is the tool you’ll reach for every session. For the full breakdown on which drill to buy, see our cordless drill buying guide — the short version is DeWalt 20V for most buyers, Ryobi One+ for budget-conscious builders.
The platform decision (DeWalt, Milwaukee, Ryobi, Bosch) matters more than the specific drill model. Every other cordless tool you buy should be in the same ecosystem.
7. Impact Driver (Add When You Build Anything with Long Screws)
Not required from day one, but the first time you build a deck or install cabinets, you’ll understand why everyone uses them. See our impact driver vs. drill guide for the full explanation.
Smooth — Hand Tools That Finish the Work
8. Random Orbital Sander — Bosch ROS20VSC
The random orbital is the workhorse sanding tool for furniture and flat panels. The random orbit pattern prevents swirl marks that belt sanders and standard pad sanders leave. A 5-inch random orbital is the right size — 6-inch is harder to control in tight areas, smaller sizes are too slow.
The Bosch ROS20VSC has variable speed (important for finishing work where you want to slow down on final grits) and a microfilter dust bag that actually keeps the shop clean. The DeWalt DWES20VS is the comparable alternative — equally good.
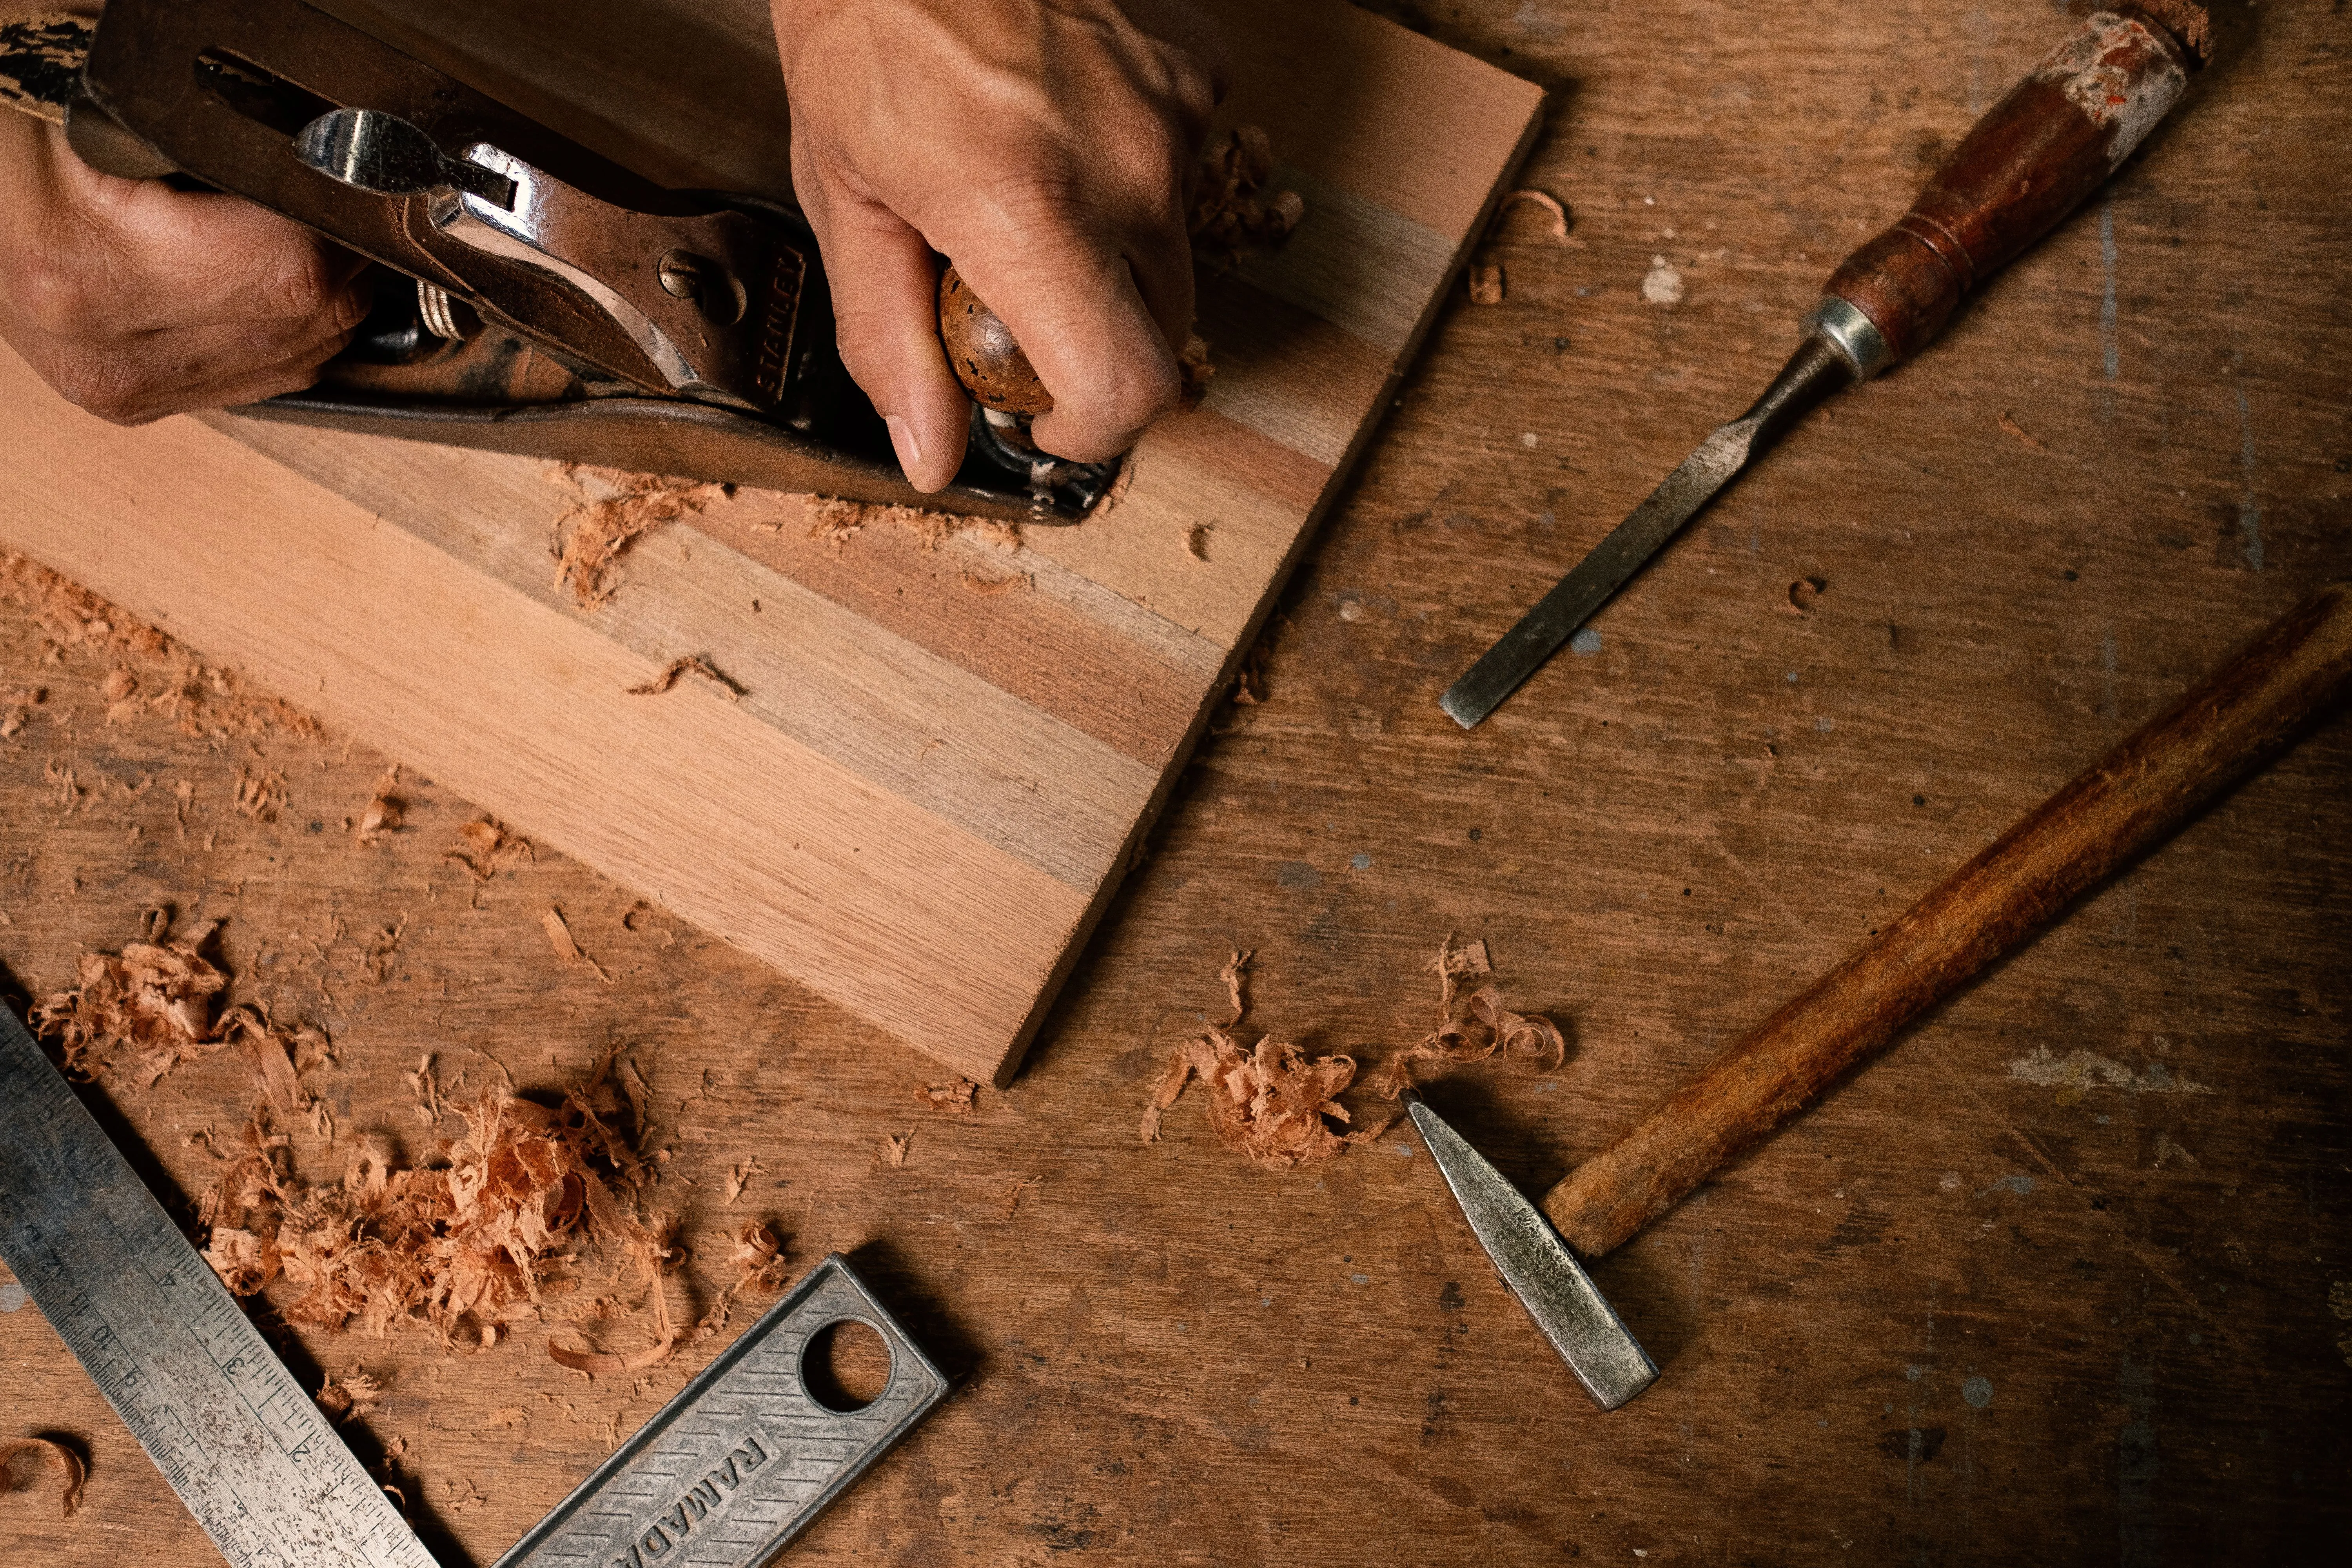
9. Block Plane (Add When You Start Hand Fitting)
A No. 9½-style block plane handles end grain chamfers, fitting joints that are slightly too tight, and cleaning up machine marks where the sander can’t reach precisely. It’s not a day-one purchase for most projects, but once you start hand-fitting parts, it becomes essential.
Buy a vintage Stanley No. 9½ or 60½ off eBay for $25–$40, flatten the blade, and you have a tool that’ll outperform new budget planes. Or buy a new Lie-Nielsen or Veritas and have a premium tool from the start. Skip the new $15 block plane — they’re not worth restoring.
Clamp & Join — The Category Beginners Always Underestimate
You can never have enough clamps. This is woodworking law.
10. Bar Clamps — Irwin Quick-Grip 6-inch (6-pack minimum)
The Irwin Quick-Grip clamps are the standard for a reason: one-handed operation, adequate clamping force for most glue-ups, and they’re reasonably priced. Start with six 6-inch clamps. Add longer ones as projects grow.
11. Pocket Hole Jig — Kreg K4
For beginners, pocket holes make furniture-quality joints accessible without the joinery skill curve of mortise-and-tenon or dovetails. The Kreg K4 at $40 is the entry point. If you find yourself using it constantly and the manual thickness adjustment becomes a friction point, upgrade to the Kreg 720PRO.
See our full pocket hole jig buying guide for the complete comparison.
Safety — $50 That Protects Your Most Important Assets
12. Safety Trio (Glasses, Hearing, Dust Mask)
Safety glasses: ANSI Z87.1-rated. The cheap ones from the hardware store bin are fine — they meet the standard. Get three pairs; they’ll disappear.
Hearing protection: A circular saw runs at 100dB. Sustained exposure at that level causes permanent hearing loss. 3M Peltor earmuffs are comfortable, rated correctly, and cost about $20. Use them.
Dust mask: For sanding, get at minimum an N95 respirator. For MDF and other engineered wood products that off-gas formaldehyde, use a P100 respirator with organic vapor cartridges. Fine wood dust is a known carcinogen. Don’t skip this.
What to Skip Right Now
Table saw: Necessary eventually for ripping wide boards. Not necessary for your first 10 projects. A circular saw with a guide does the job.
Miter saw / compound miter saw: Great for repeated crosscuts at specific angles. A beginner builds variety, not production quantities — the speed advantage doesn’t pay off yet.
Router: Complex to use safely, requires a dedicated table for most operations, expensive entry cost for decent quality. Add it after you’ve built 5–6 projects and hit a limitation that a router solves.
Band saw: Specialty tool. The jigsaw handles curve cuts for beginner work. A band saw is worthwhile for resawing lumber — a skill that comes much later.
Budget Breakdown at Each Tier
$300 Starter: Ryobi 18V drill (from combo kit), speed square, Stanley FatMax tape, Ryobi circular saw, basic ear/eye protection, 4 Quick-Grip clamps, Kreg K4. Functional for basic projects.
$600 Capable: DeWalt 20V drill, DeWalt DCS565B circular saw, Bosch ROS20VSC sander, 6 Quick-Grip clamps, Kreg K4, Stanley FatMax tape, Swanson speed square, full safety kit. Ready for furniture.
$1,200 Serious: DeWalt 20V drill and impact driver, DeWalt DCS565B saw, Bosch ROS20VSC sander, 8+ Quick-Grip clamps + pipe clamps, Kreg 720PRO, Stanley FatMax tape, Swanson speed square, quality marking gauge, block plane, full safety kit. Ready for almost anything.
Frequently Asked Questions
Q: Do I need both a drill and an impact driver from the start? A: Start with just the drill. Add the impact driver when you have a project that requires driving long screws — deck building, cabinet installation, framing. Most beginner projects don’t require it immediately.
Q: Is it okay to buy used tools? A: Absolutely. Hand tools and hand planes in particular are often better used than new — better steel, better quality, and half the price. Power tools used are riskier (harder to assess motor condition), but major brands like DeWalt and Milwaukee hold up well. Always test a used power tool before buying.
Q: How many clamps do I actually need? A: More than you think. A basic glue-up for a cabinet box might use 8–10 clamps. Most woodworkers say they don’t have enough clamps, regardless of how many they own. Start with 6, add 4–6 more as soon as your budget allows.
Q: Can I learn woodworking without a table saw? A: Yes. Most of the furniture and projects beginners want to build are achievable with a circular saw, a jigsaw, a drill, and hand tools. Many experienced woodworkers deliberately avoid table saws. A circular saw with a quality straight-edge guide does the same rip cuts with more portability and less safety setup.
Q: What if I find old tools at an estate sale or garage sale? A: Vintage hand tools can be excellent — especially older chisels and planes in good steel. If you’re not sure what you’re looking at, our AI tool identifier can tell you what it is and whether it’s worth picking up.