How to Sharpen Chisels and Plane Irons Without Buying Waterstones
The short answer: flatten the back once, establish a 25° bevel with a honing guide on diamond plates, add a 3–5° micro-bevel, and finish on a leather strop with green compound. Three diamond plates (coarse, medium, fine) plus a Veritas Mk.II guide handle everything — no soaking, no flattening stones, about 10 minutes per edge once the back is done.
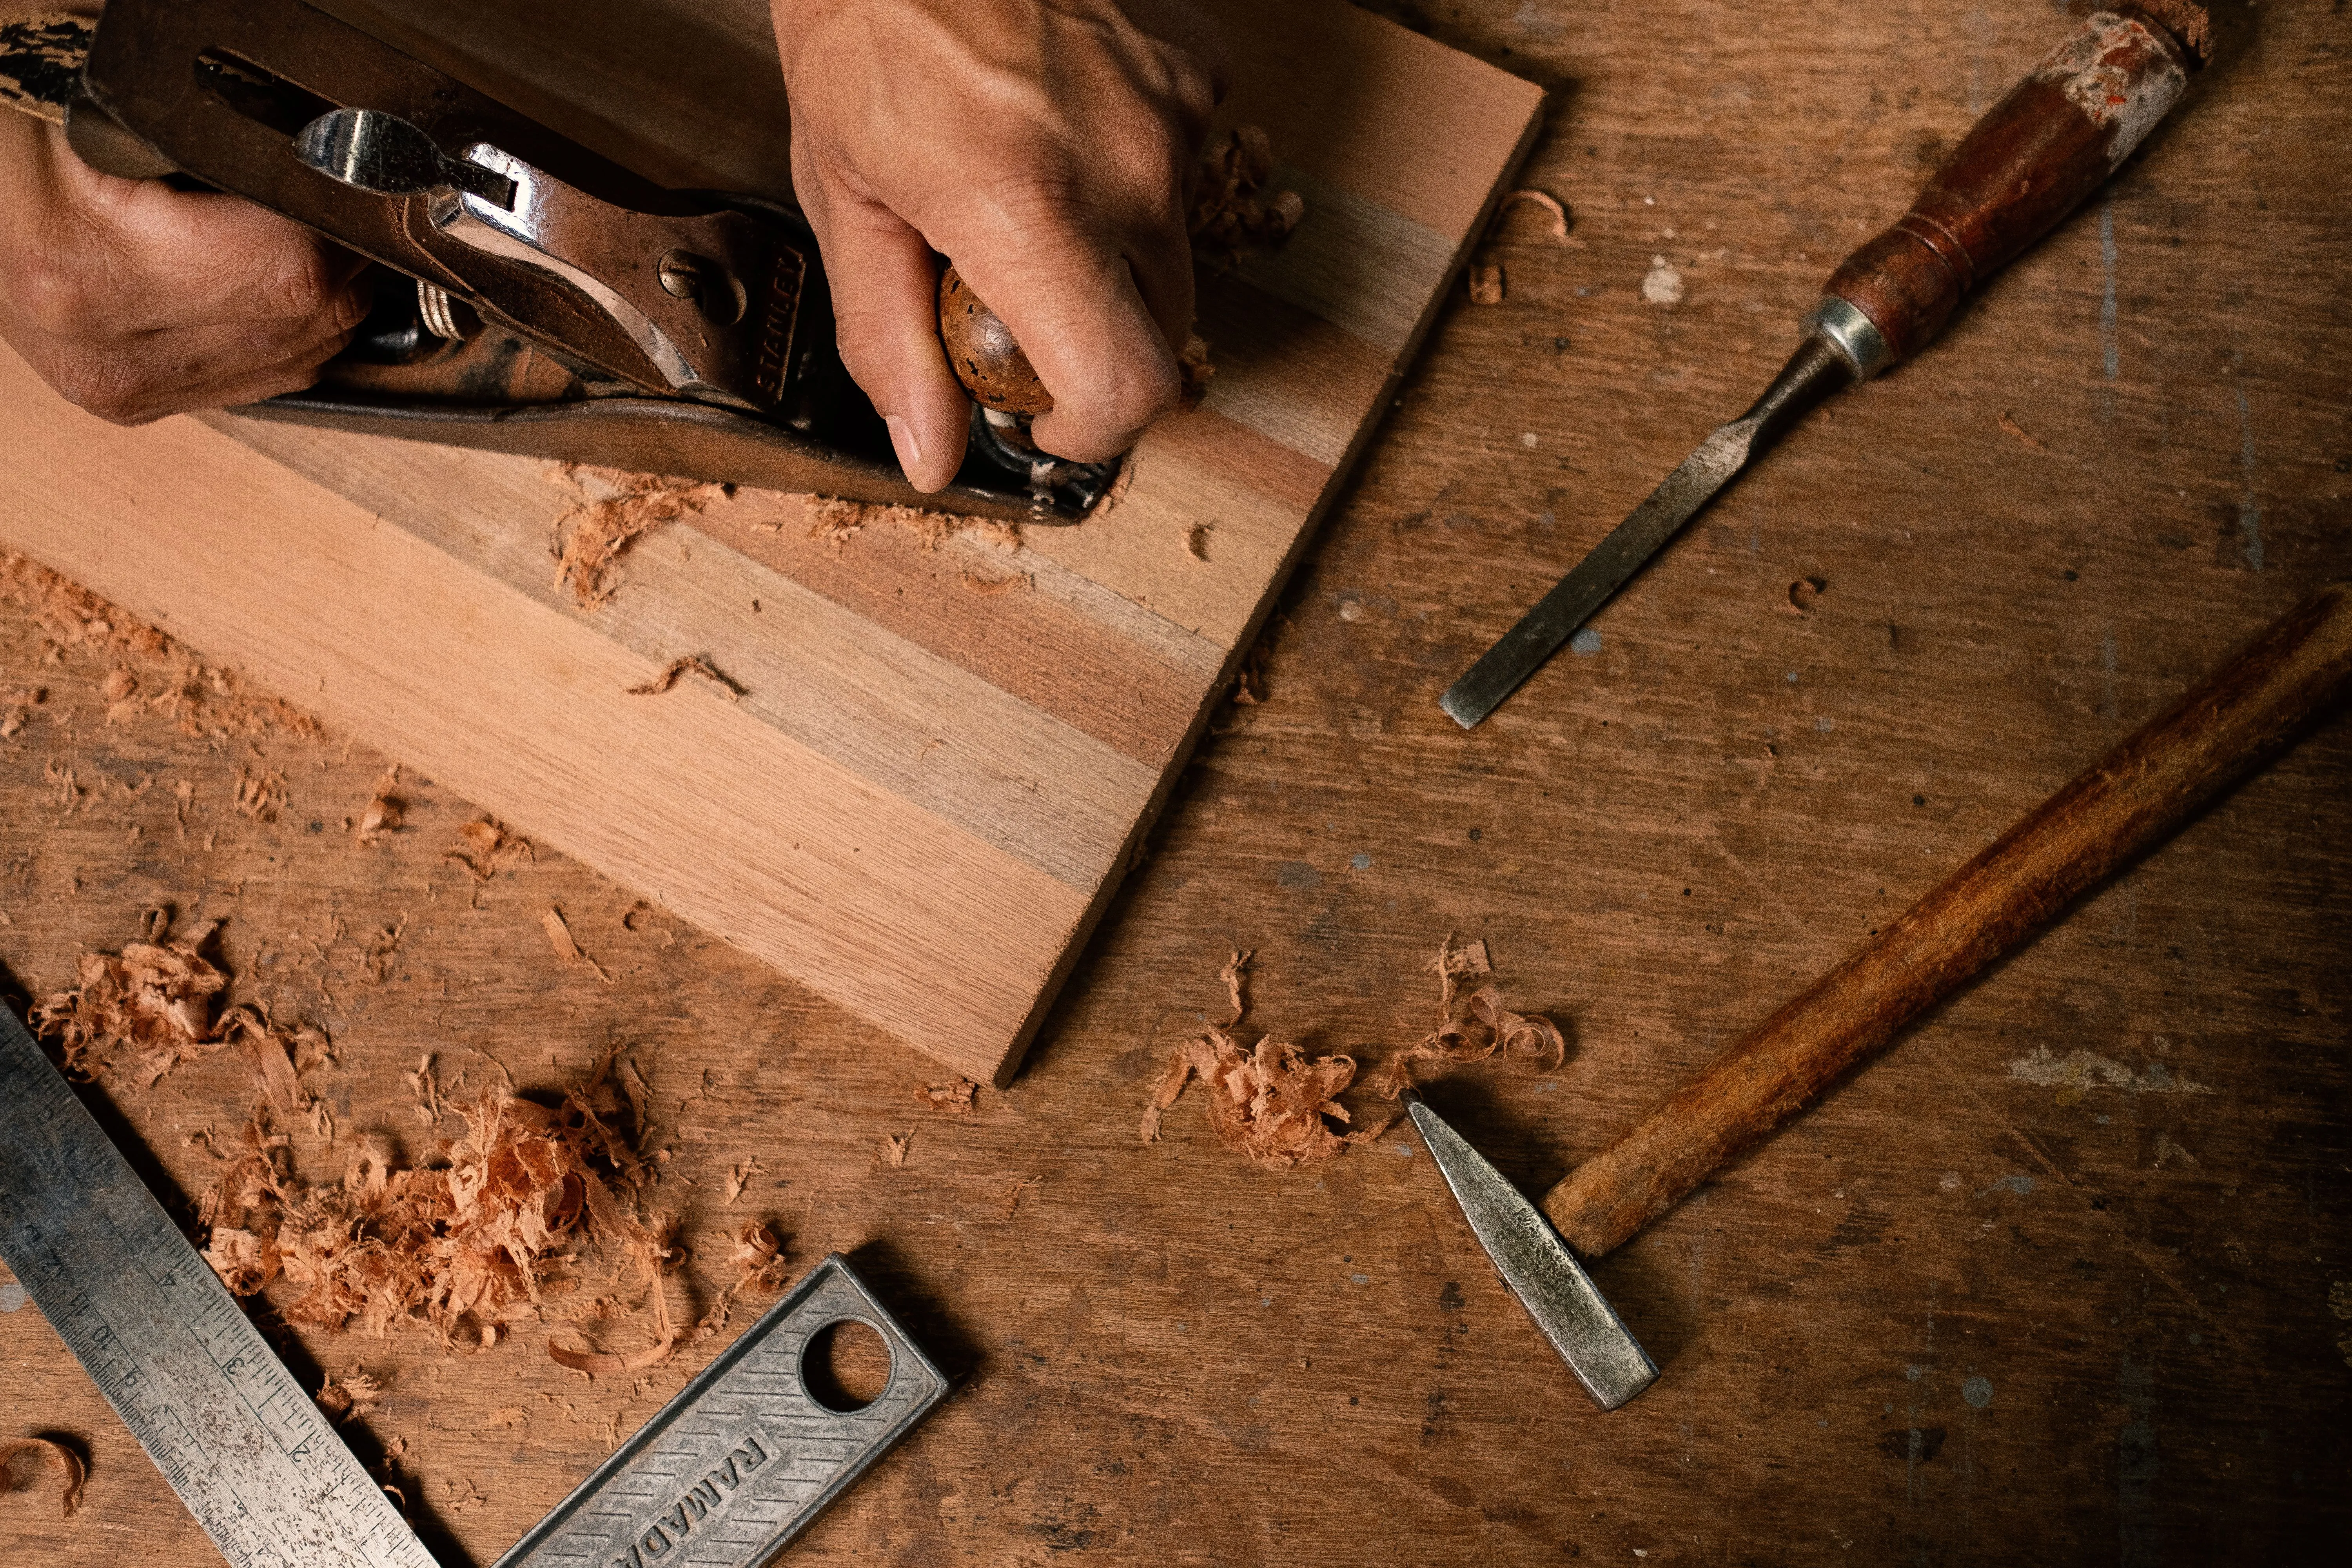
The first time I tried to use a chisel I’d bought at a garage sale, I thought I was just bad at chiseling. The tool skidded off layout lines, left ragged walls on mortises, and required so much force that I was bruising my palm against the mallet handle. I blamed my technique.
Turns out the previous owner had never sharpened it. I was trying to pare oak with something roughly as sharp as a dinner knife.
I bought a set of waterstones. Two weeks later, I’d lapped them flat, built a wooden holder, and spent more time maintaining stones than sharpening tools. The results were excellent. The process was annoying.
Then a friend showed me his diamond plate system. Flat from the factory, never needs lapping, works dry, and produces an edge that’s just as sharp in a fraction of the time. I’ve been using diamond plates ever since.
Here’s the system.
Why Sharpness Matters More Than You Think
A sharp chisel is safer than a dull one. This sounds backwards until you understand the mechanics.
A dull edge requires force to cut. More force means more energy in the system when the tool slips — and it will slip. A sharp chisel cutting through end grain with light pressure stays controlled when the edge exits the wood. A dull chisel prying through with heavy pressure does not.
The other reason sharpness matters: quality. You simply cannot make clean, accurate joinery with a dull tool. The walls of a mortise cut with a dull chisel are torn, not sliced. Paring cuts wander off layout. Plane shavings are thick and rough rather than thin and glassy. Every symptom of bad technique in woodworking can be traced, at least partially, to sharpening failure.
The tests for sharp:
- Paper test: A truly sharp chisel slices cleanly through a sheet of printer paper with no tearing. It should sound clean, not ragged.
- Arm test: Shave a small patch of arm hair. If the edge glides through hair without pressure, it’s sharp. If it doesn’t shave, it isn’t sharp enough.
Factory “sharp” from most manufacturers — even quality ones — doesn’t pass these tests. Sharpening is not an advanced skill; it’s a prerequisite.
The Three Sharpening Systems
Waterstones (Japanese water stones, or synthetic equivalents): Produce an exceptional edge. The cutting action is excellent. The downsides: they need to be kept wet, they dish (hollow out) with use and must be periodically flattened on a lapping plate, and the flattening step requires additional equipment and skill. Best final results, most maintenance overhead.
Oil stones: The traditional American system. Arkansas stones in coarse, medium, and fine. Slower cutting action than waterstones. Forgiving and almost maintenance-free. Don’t dish as badly. The edge is excellent but reaching it takes more time. A good choice for someone who values low-maintenance simplicity.
Diamond plates: Flat from the factory and remain flat through their service life. Work dry (no water, no oil). Cut faster than either stone type, particularly on the coarser grits. Don’t need lapping. The edge quality is equivalent to waterstones when you use a fine enough plate. The best choice for beginners and for anyone who values speed and simplicity over marginal edge quality differences.
This guide uses diamond plates. If you’re set on waterstones, the process is similar — just add lapping and wet setup to each session.
The 3-Plate Diamond System
You need three plates to cover the full range from repair work to final sharpening:
Coarse (~220–325 grit): Use this when reshaping a damaged edge, establishing a new bevel angle, or removing significant metal. You won’t use this plate often — once the bevel is established, you skip it.
Medium (~600–800 grit): The workhorse. This is where most honing happens. After the coarse plate has established the bevel geometry, the medium plate refines it.
Fine (~1,200 grit): Final honing before the strop. This is the plate that determines the quality of your edge. Don’t skip it.
DMT (Diamond Machining Technology) is the reference standard for diamond plates. Their 6-inch diamond whetstones are the most widely recommended by woodworking instructors. They’re expensive ($50–$70 each plate) but they last years with normal use and the cutting action remains consistent throughout their life.
Step 1 — Flatten the Back
This is the most important step and the most commonly skipped. The back of a chisel (the flat side, not the bevel side) must be flat for the edge to be sharp. The cutting edge is the intersection of the bevel and the back — if the back is hollow or convex, the edge geometry is compromised.
You only need to do this once per chisel (unless you chip the edge badly). But it has to be done before any other sharpening is useful.
The process:
- Place the chisel flat (back side down) on the coarse diamond plate
- Move it in circles or figure-8 patterns, maintaining full contact
- Check your progress: hold the chisel back up to a light source — you’ll see the high spots polishing first
- Continue until the back is fully polished (no low spots remaining)
- Repeat on the medium plate, then the fine plate
For a factory chisel that’s never been flattened, this can take 15–20 minutes on the coarse plate. Don’t rush it — you’re setting up all future sharpenings. Once it’s done, maintaining the flat back takes 30 seconds per sharpening session.
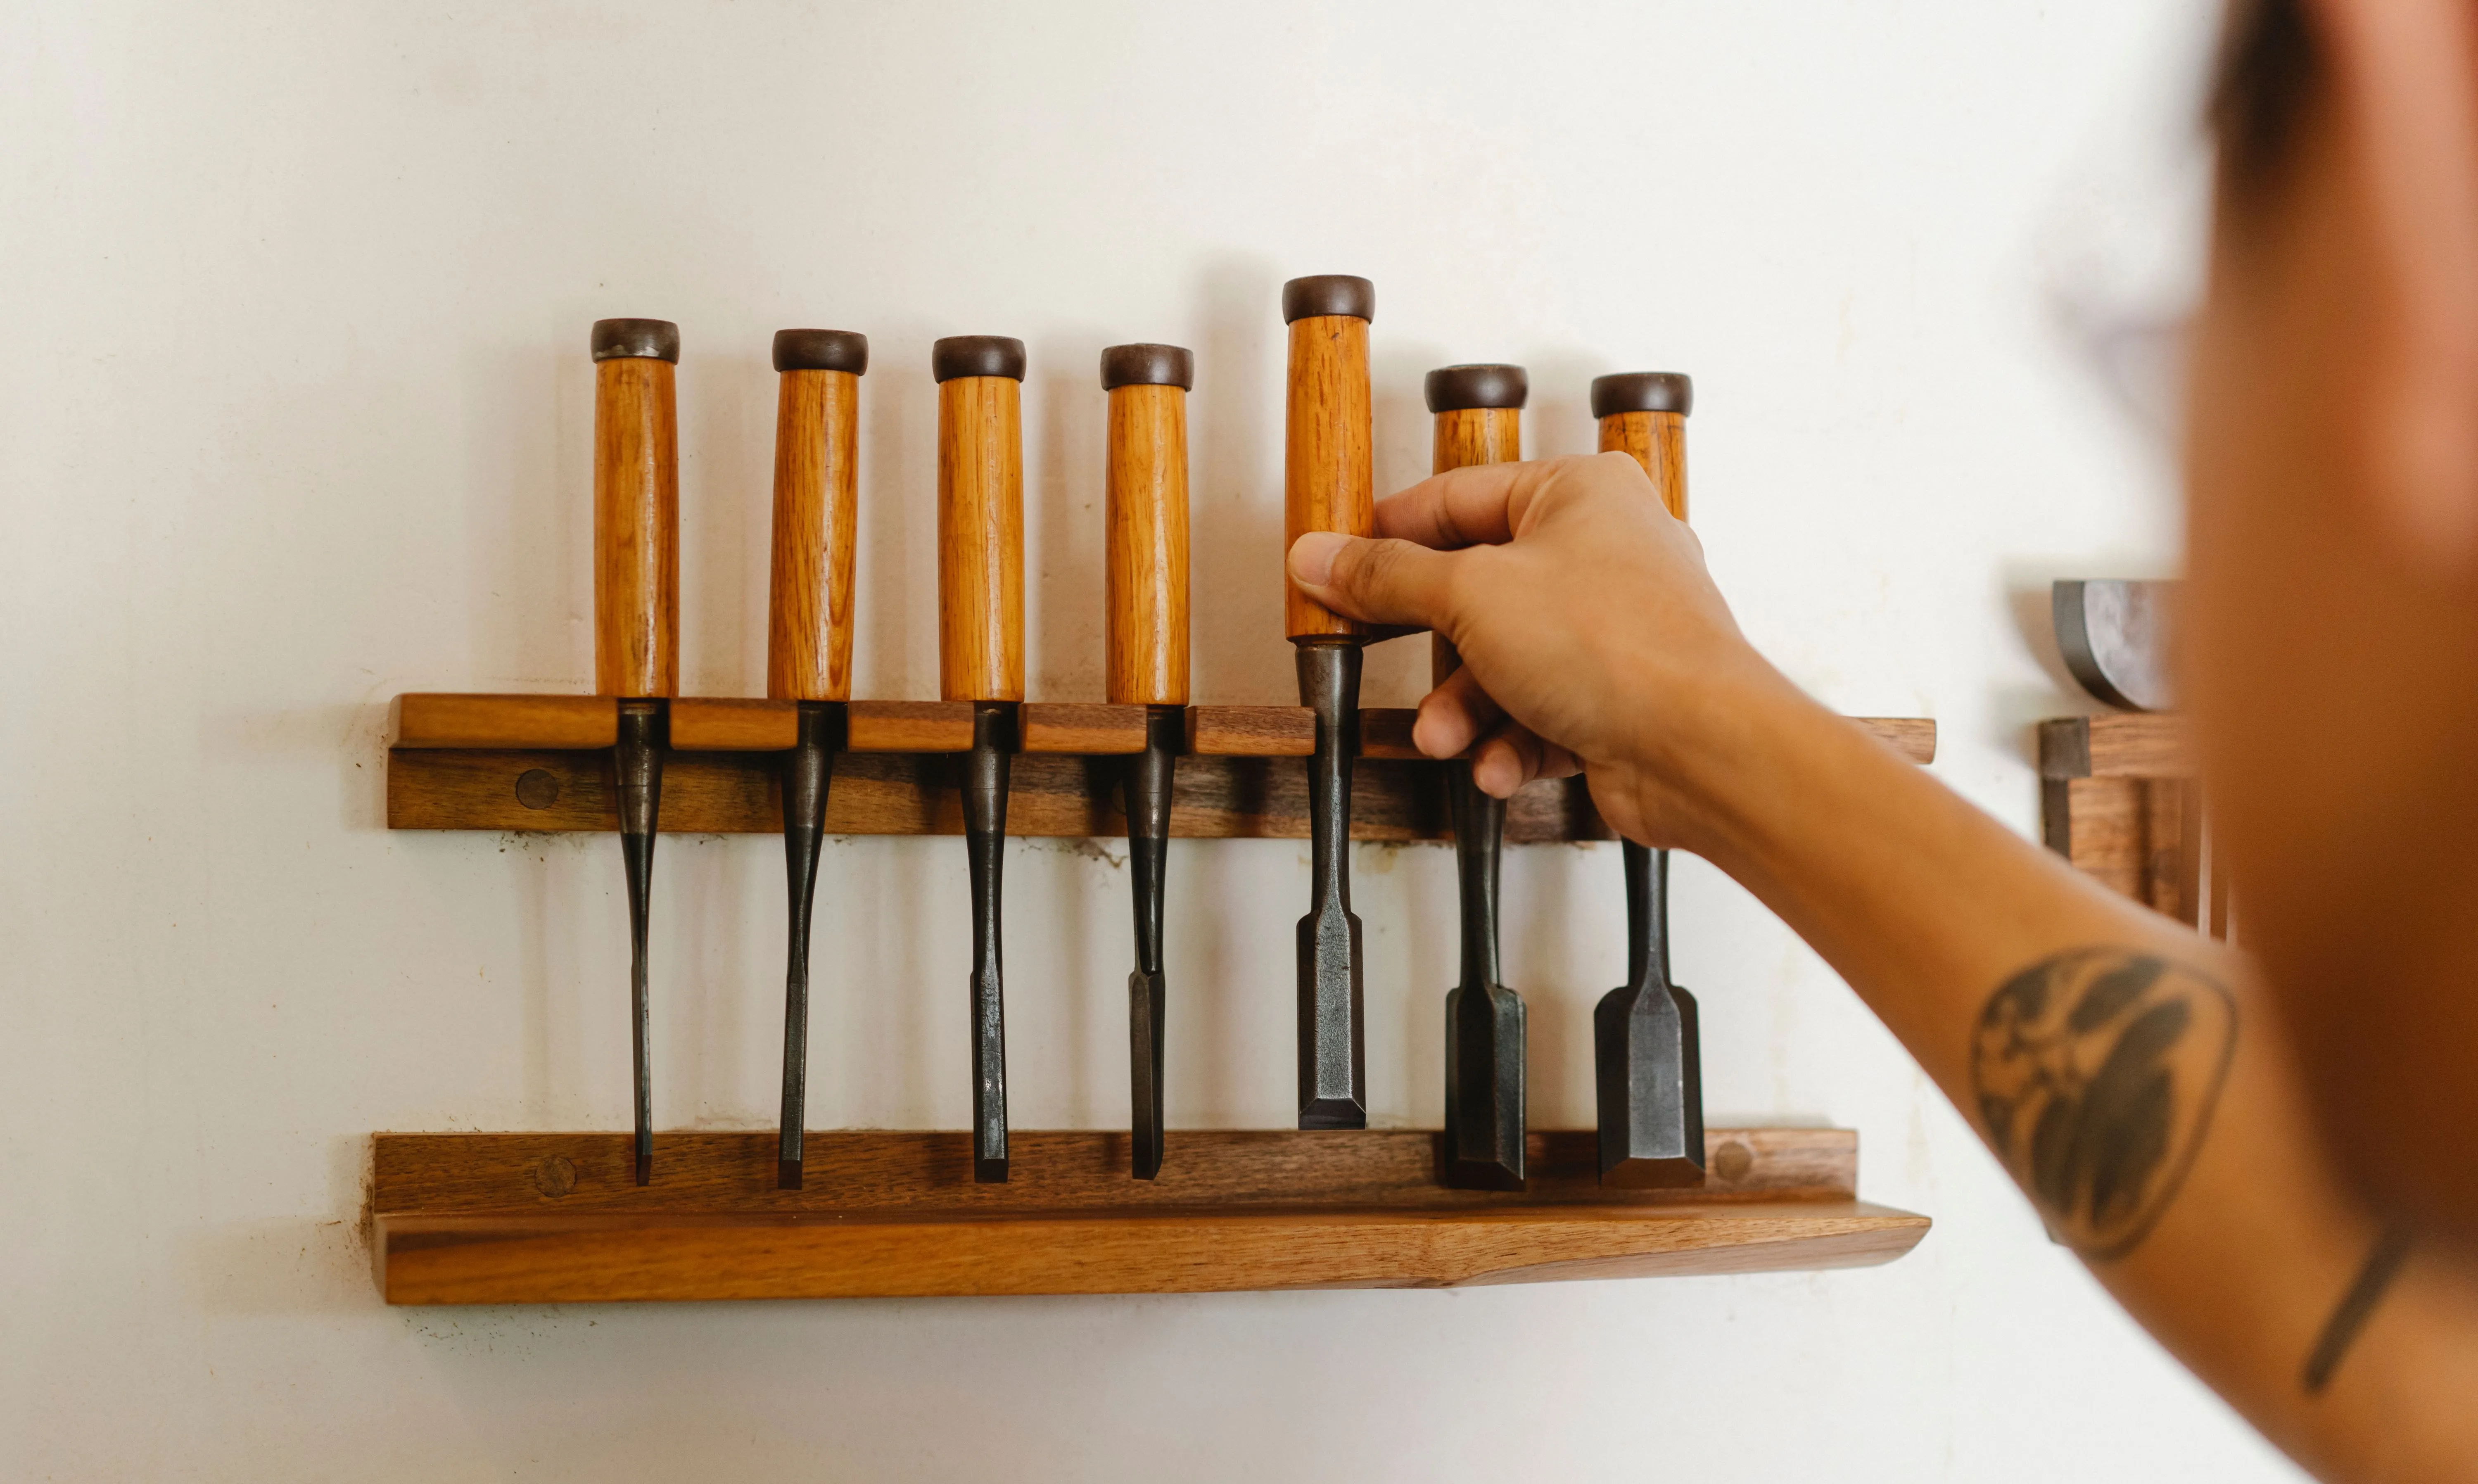
Step 2 — Establish the Primary Bevel
The bevel is the angled face of the chisel that does the actual cutting. Common bevel angles:
- 25°: Standard for most bench chisels. Good balance of sharpness and durability.
- 30°: More durable, slightly less sharp. Better for mortise chisels and heavy mallet work.
- Plane irons: 25° is standard; some woodworkers prefer 30° for difficult grain.
Freehand vs. honing guide: Freehand sharpening is faster once you have the muscle memory. Getting there takes months of practice. For a beginner, a honing guide produces a consistent angle immediately. Use the guide until freehand feels natural — or use it always. Professional results are achievable with a guide indefinitely.
The Veritas Mk.II honing guide is the one worth buying. The roller contact system is superior to cheaper guides with a square bar contact point — the roller tracks straighter on the stone, producing a more consistent bevel. The angle settings are clearly marked and reliably repeatable. It’s $65, which is real money for a holding jig, but the results justify it.
The cheap honing guides ($10–$15) work but wobble. You’ll eventually upgrade to a Veritas anyway — might as well start there.
The primary bevel process:
- Set the honing guide to your target angle
- Secure the chisel in the guide with the bevel down
- Work the medium diamond plate with firm, even pressure
- Check for a wire edge (a tiny burr that forms on the back of the blade at the edge) — when you feel it across the full width of the edge, the bevel is established
- Move to the fine plate and repeat until the wire edge is uniform and minimal
Step 3 — Hone the Secondary (Micro) Bevel
The secondary bevel is a small, slightly steeper angle at the very tip of the primary bevel. It’s typically 3–5° steeper — so if your primary is 25°, your secondary is 28–30°.
Why bother? Because you only need to maintain the secondary bevel during normal sharpening sessions, not re-establish the full primary bevel. This makes routine sharpening much faster — instead of working the full bevel surface, you’re just touching up 1–2mm of edge at the tip.
In the Veritas guide: bump the chisel forward slightly in the clamp (moving it out increases the effective angle). Lock it and make a few strokes on the fine plate. A few passes on the medium and fine is all the secondary bevel requires.
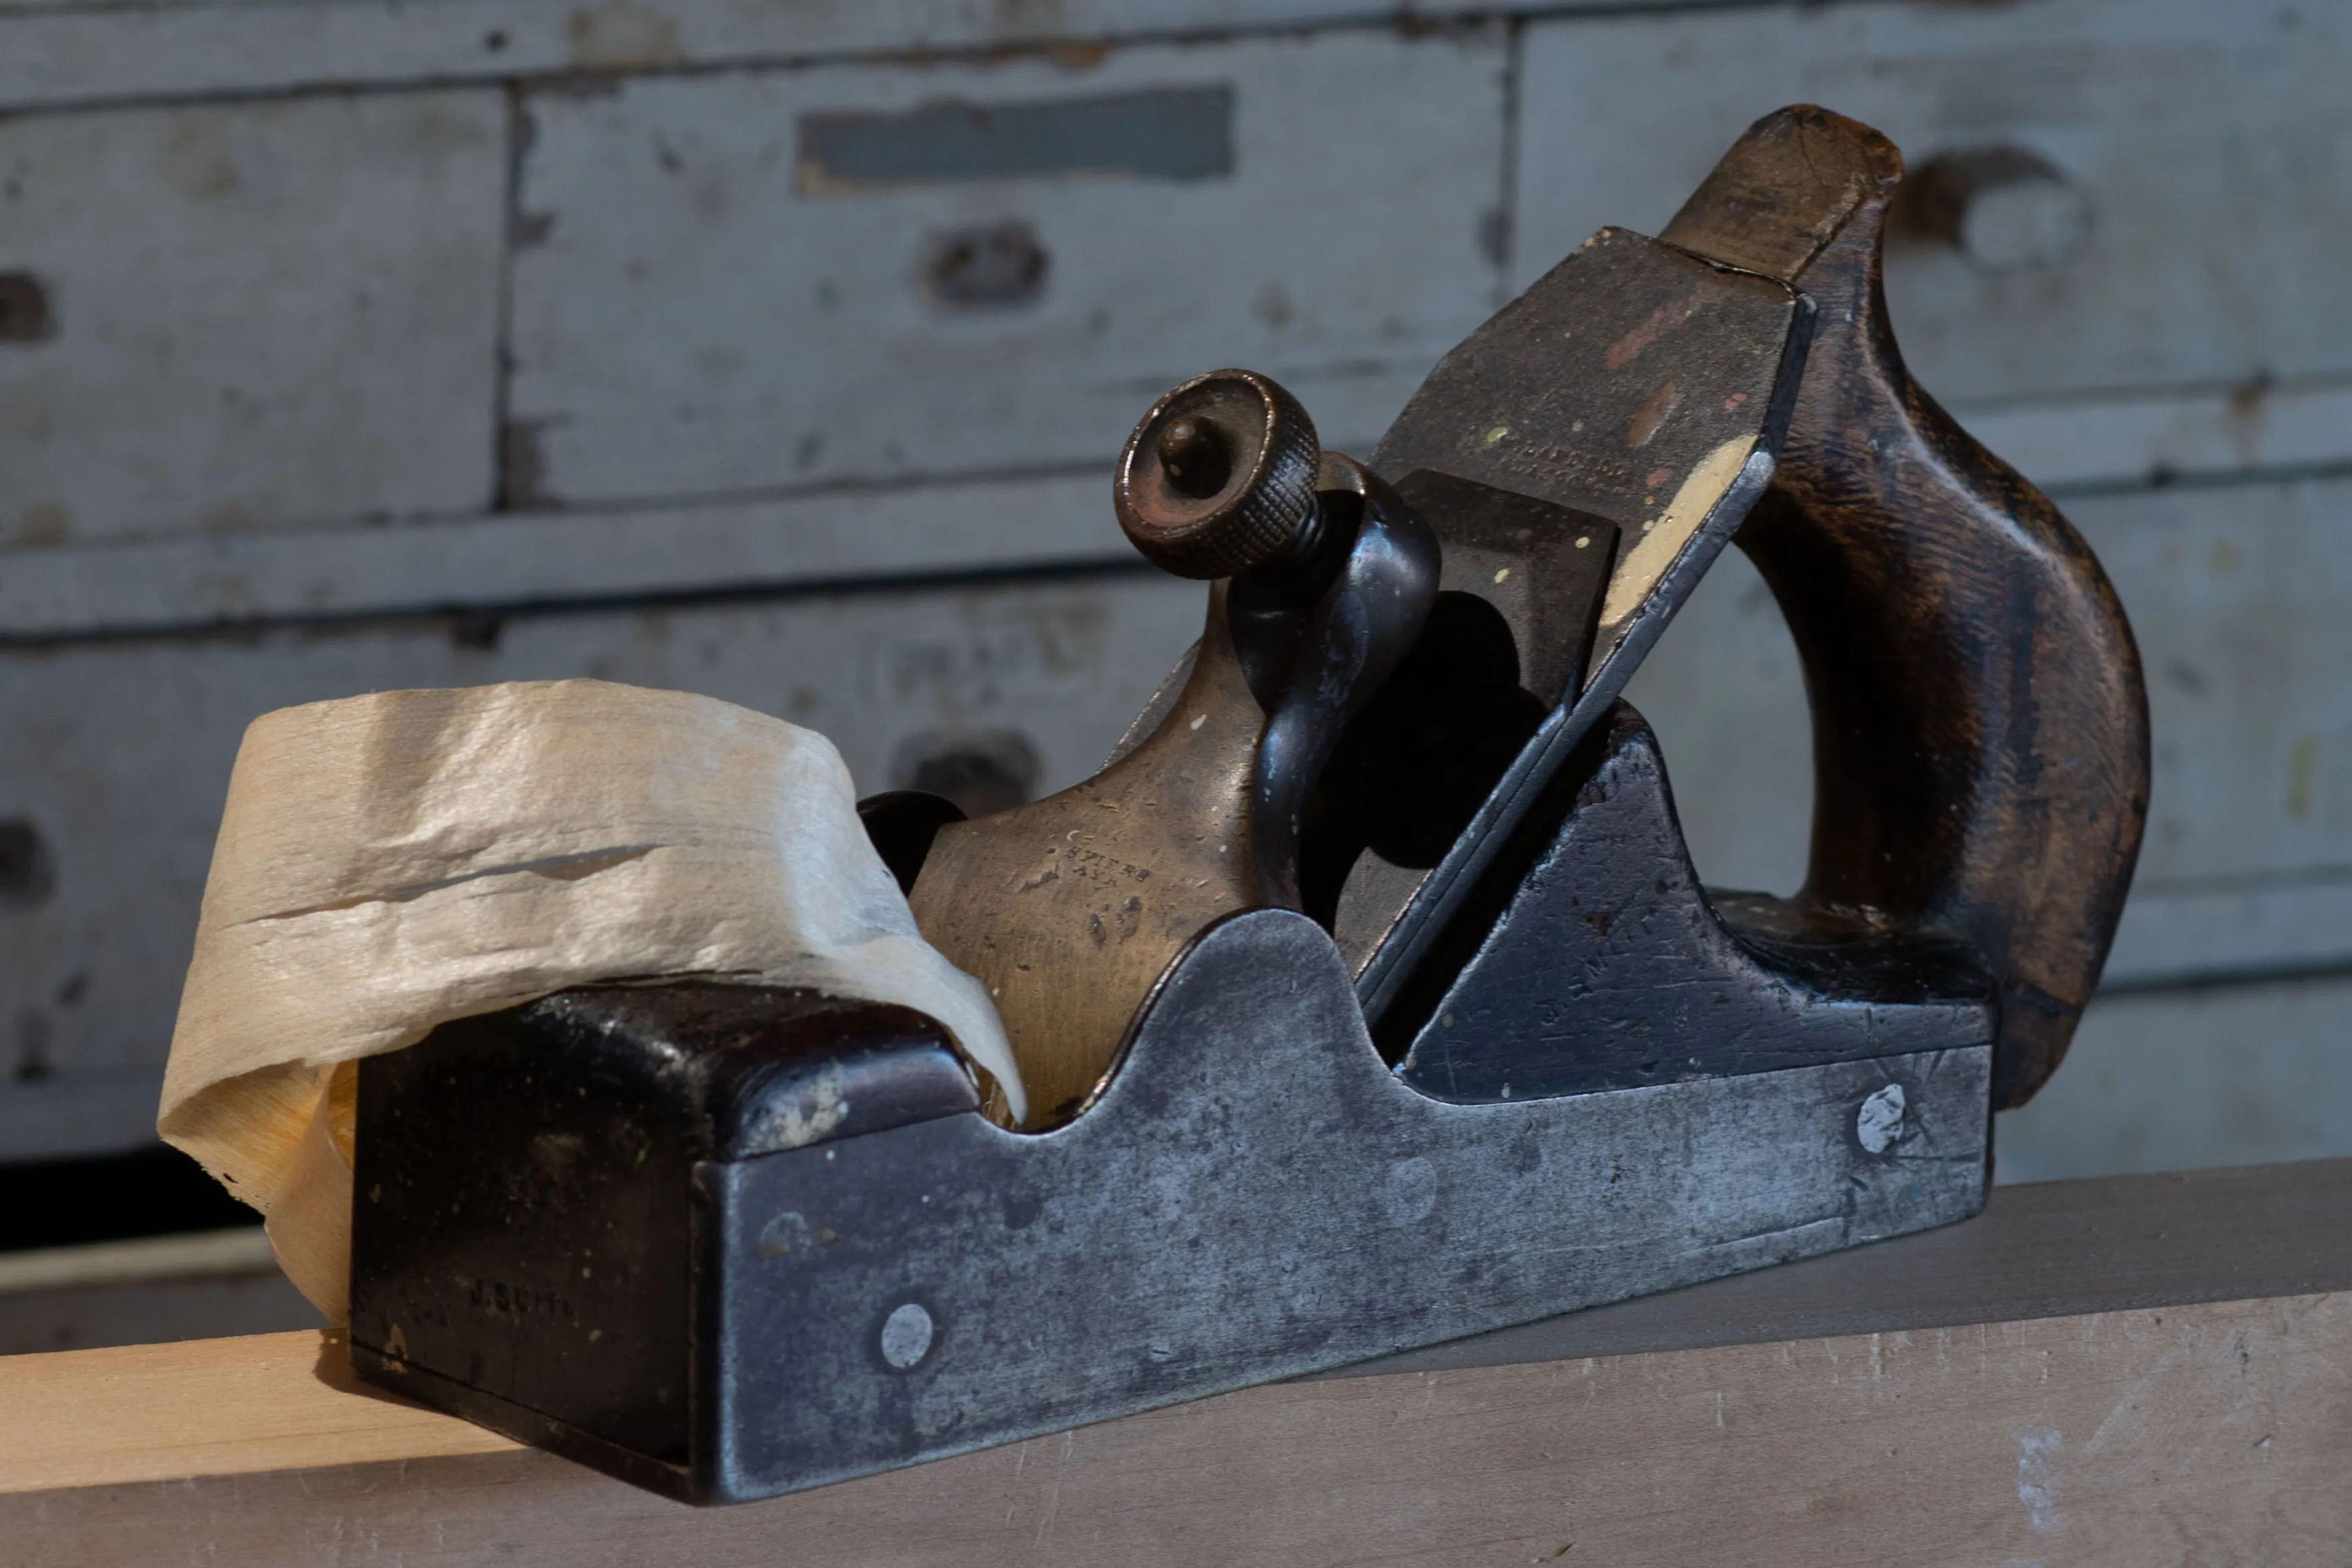
Step 4 — Strop
A leather strop charged with green honing compound is the final step. The strop removes the wire edge and aligns the last microscopic metal fibers at the cutting edge.
Technique: pull the chisel across the strop, edge trailing (not leading — you’ll cut the strop). Alternate sides, bevel side then back, 10–15 passes each. The compound turns gray as it picks up metal particles — wipe it off and recharge periodically.
The difference between a honed edge and a stropped edge is significant. The strop is what takes you from “very sharp” to “shaves cleanly.”
Maintenance Schedule
Strop every session: Takes 60 seconds. Extends the interval between full sharpenings by 3–5x.
Full hone (secondary bevel only): When the strop no longer restores a working edge. For regular use, every 1–3 hours of actual cutting. For occasional use, every 3–5 sessions.
Full reprofiling (primary bevel + back): When the secondary bevel has grown so wide from repeated honings that honing is slow. When you have a chip in the edge. Otherwise, rarely — maybe once or twice a year for regular users.
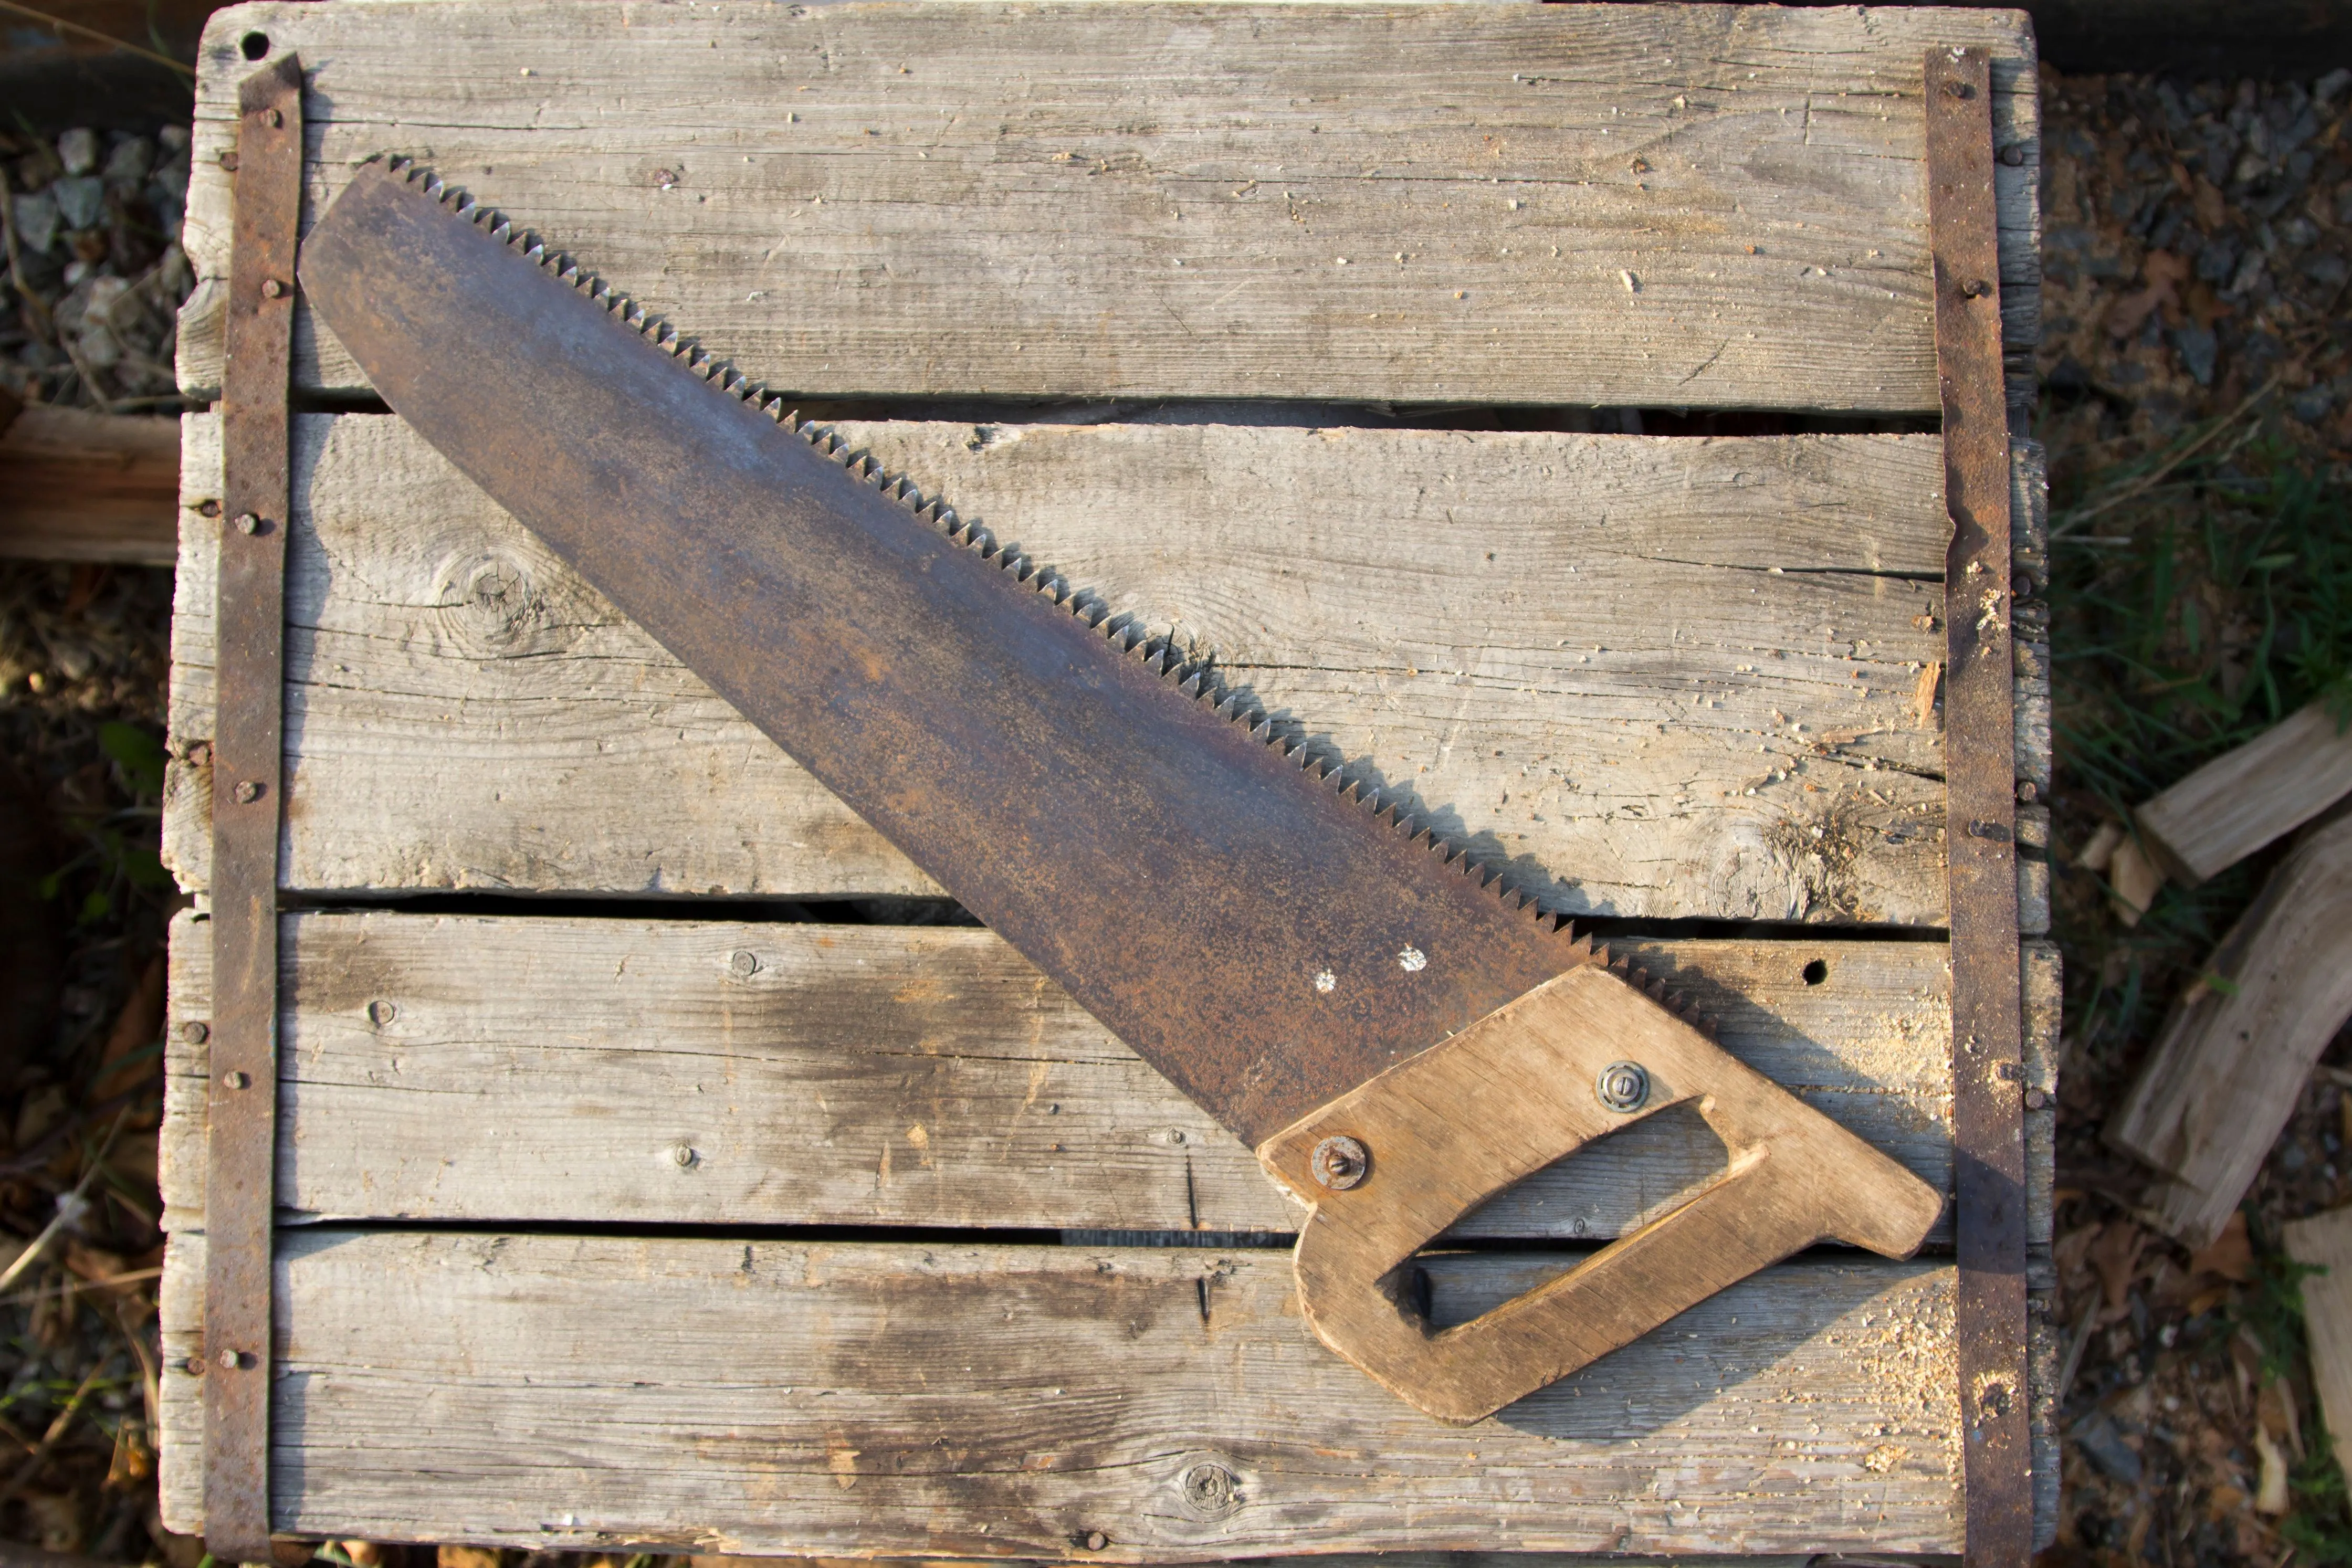
A Note on Vintage Chisels
If you’ve inherited old chisels or picked them up at a yard sale, sharpening them is often worth it. Pre-1950 Marples, Buck Brothers, and similar vintage chisels are often better steel than budget modern chisels. The steel holds an edge longer and takes a finer edge.
The back may be less flat than a modern chisel, requiring more time in Step 1. But the steel quality of a good vintage chisel more than compensates for the extra prep work.
Not sure what kind of chisel you’ve inherited? Our AI identifier can tell you the maker and approximate age from a photo — useful context before you invest time in restoration.
Frequently Asked Questions
Q: Do I need to use water or oil with diamond plates? A: Diamond plates work dry or with a light spray of water to float away swarf (metal particles). A few drops of water is fine — no oil required, and oil can actually clog some diamond plate surfaces. This is one of the advantages over oil stones.
Q: How do I know when a diamond plate needs replacement? A: The plate cuts noticeably slower even when clean. The diamonds are wearing flush with the bond. Most quality plates last 3–10 years of regular use depending on frequency.
Q: Can I sharpen carving gouges on diamond plates? A: The flat plates work for the bevel of a gouge, but you need a shaped slip stone (a curved profile stone) for the inner bevel. Diamond-coated slip stones exist. Slip stone sharpening for curved tools is its own skill — flat chisel and plane iron sharpening is the starting point.
Q: What angle should I sharpen kitchen knives to? A: This guide covers woodworking tools specifically. Kitchen knives use different angles (typically 15–20° per side) and different abrasives. The diamond plate system transfers, but the specifics are different.
Q: Is it worth sharpening a chisel I bought for $5? A: Usually yes. A $5 chisel with a properly flattened back and sharp bevel cuts better than a $30 chisel that came from the factory “sharp.” Tool quality and sharpness quality are separate variables. A modest chisel, well sharpened, outperforms an expensive chisel that’s never been touched.